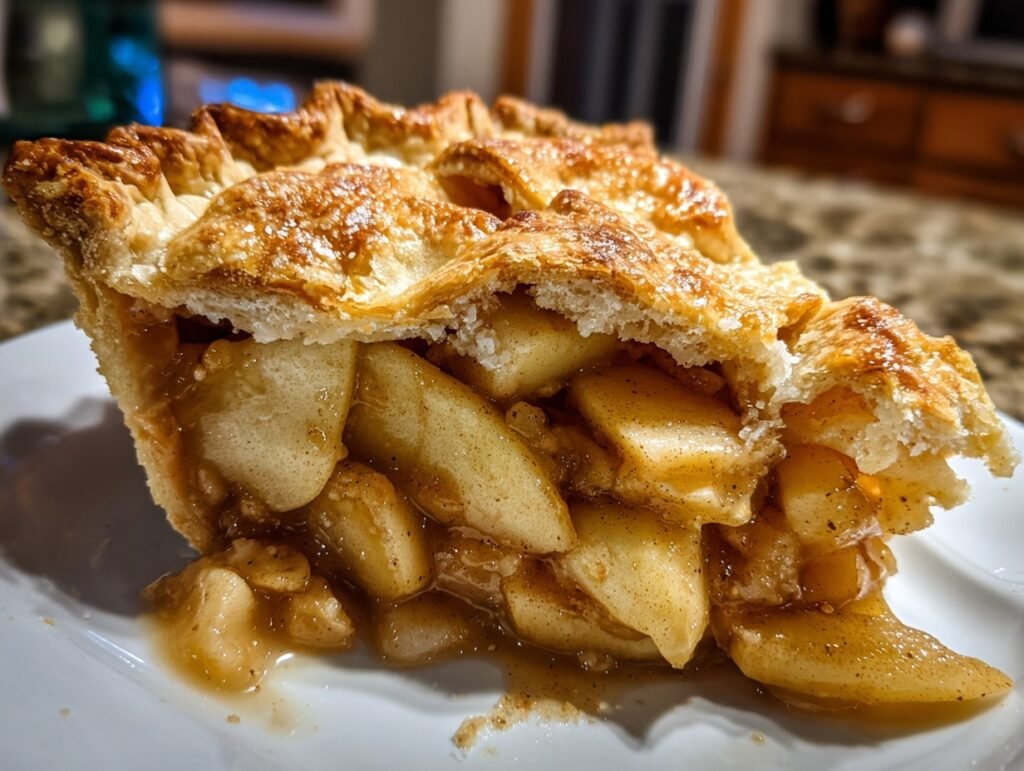
Imagine the golden, flaky crust of a Classic Apple Pie fresh from the oven, glistening with a light egg wash and a sprinkle of sugar that catches the light just right. The aroma wafts through your kitchen—warm cinnamon and nutmeg mingling with the sweet-tart scent of apples, evoking cozy fall evenings and family gatherings. One bite reveals juicy, tender apple slices enveloped in a buttery embrace, with that perfect balance of sweetness and a hint of lemony brightness. It’s pure comfort, the kind that makes your heart swell and your taste buds dance.
This Classic Apple Pie isn’t just a dessert; it’s a Pinterest dream come true. Visually stunning with its lattice top or simple double crust revealing bubbling fruit through steam vents, it’s as photogenic as it is delicious. Easy enough for beginners yet impressive for holidays, it draws oohs and aahs from crowds. For timeless perfection, check out this classic apple pie inspiration. Whether you’re pinning for Thanksgiving or a weekend treat, this recipe delivers shareable magic that looks pro but feels like home.
Why You’ll Love This Recipe
This Classic Apple Pie wins hearts with its quick prep—under an hour to assemble before baking—and jaw-dropping presentation. Picture slicing into that shimmering, golden dome, steam rising with cinnamon-scented clouds. It’s versatile for any season, evoking nostalgia while fitting modern tables. The emotional pull? It’s the hug in dessert form, creating memories over shared slices.
Shareability skyrockets here: snap a photo of the glossy crust or gooey filling, and watch pins explode. Easy tweaks make it your own, but the wow-factor stays. You’ll love how it turns simple ingredients into a crowd-pleaser that feels indulgent yet approachable, perfect for impressing without stress.
Ingredients

These ingredients harmonize beautifully in this Classic Apple Pie: crisp apples provide tart juiciness, balanced by sugar and warm spices for depth. Cold butter ensures flaky crust, while lemon juice brightens flavors and prevents browning. Flour thickens the filling just right, creating that irresistible bubble without sogginess.
Crust:
– 2 ½ cups all-purpose flour
– 1 tsp salt
– 1 cup unsalted butter, cold and cubed
– 6-8 tbsp ice water
Filling:
– 6 cups thinly sliced apples (Granny Smith or Honeycrisp) (or mix for varied texture)
– ¾ cup granulated sugar
– 2 tbsp lemon juice
– 1 tsp ground cinnamon
– ¼ tsp ground nutmeg
– ¼ tsp salt
– 2 tbsp all-purpose flour
Topping:
– 2 tbsp unsalted butter, cut into small pieces
– 1 egg, beaten (for egg wash) (or milk for lighter shine)
– 1 tbsp granulated sugar (for sprinkling)
Quick Overview
– Prep Time: 30 minutes
– Cook Time: 50-60 minutes
– Total Time: 1 hour 30 minutes (plus chilling)
– Servings: 8
– Difficulty Level: Medium
Whip up this Classic Apple Pie effortlessly with downtime for chilling. Realistic times fit busy schedules, letting you bake like a pro without rushing. Convenience meets perfection.
Step-by-Step Instructions

Ready to create bakery-worthy magic? These steps for Classic Apple Pie build your confidence, turning pantry staples into a showstopper. Follow along for flaky crust and bubbling filling every time.
1. Make the dough: In a large bowl, whisk flour and salt. Add cold butter cubes. Cut in with a pastry blender or fingers until pea-sized crumbs form. Sprinkle ice water 1 tbsp at a time, mixing until dough holds together. Don’t overwork.
2. Divide and chill: Split dough into two discs—one slightly larger. Wrap in plastic. Refrigerate 30-60 minutes. Chilling keeps butter cold for ultimate flakiness.
3. Prep apples: Peel, core, and thinly slice apples (about ¼-inch). Toss in a bowl with sugar, lemon juice, cinnamon, nutmeg, salt, and flour. Let sit 10 minutes to release juices, creating thick filling.
4. Preheat oven: Set to 425°F (220°C). Place a baking sheet on lower rack to catch drips and boost bottom crust crispness.
5. Roll bottom crust: On floured surface, roll larger disc to 12-inch circle. Transfer to 9-inch pie plate, pressing gently into edges. Trim overhang to ½-inch.
6. Fill the pie: Spoon apple mixture into crust, mounding slightly. Dot with 2 tbsp butter pieces for extra richness.
7. Top crust: Roll second disc to 12-inch circle. Drape over filling. Trim, fold edges under, and crimp decoratively. Cut 4-5 vents for steam escape.
8. Egg wash and sprinkle: Brush top with beaten egg for shine. Sprinkle with 1 tbsp sugar. This creates a caramelized, sparkly finish.
9. Bake initially: Place on preheated sheet. Bake 20 minutes at 425°F until edges start browning.
10. Reduce and finish: Lower to 375°F (190°C). Bake 30-40 more minutes, until crust is deep golden brown and filling bubbles thickly through vents.
11. Cool completely: Transfer to wire rack. Cool 3-4 hours—patience yields clean slices, not runny mess.
12. Serve warm: Slice and enjoy. Visual cue: juices should thicken to glossy syrup.
Pro Tips for Perfect Results
Elevate your Classic Apple Pie with these insider secrets for flawless texture, bold flavor, and Instagram-ready looks.
1. Ice-cold everything: Keep butter and water fridge-cold. Warm dough leads to tough crust. Pro move: freeze butter cubes 10 minutes pre-mix.
2. Apple slicing precision: Uniform thin slices (¼-inch) ensure even cooking. No thick chunks means no crunch in your pie.
3. Prevent sogginess: Toss apples in lemon-flour mix early. Excess juice? Strain before filling for crisp bottom crust.
4. Crimp like a pro: Use fork tines or fingers for decorative edges. Seals in juices, boosts visual appeal.
5. Vent smartly: 4-5 slits let steam escape, preventing explosions. Heart or star shapes add cute Pinterest flair.
6. Shield if needed: Tent edges with foil after 30 minutes if browning too fast. Keeps crust even golden.
7. Rest is key: Full cool-down sets filling. Slice too soon? Gooey disaster. Patience = perfection.
Serving Ideas & Variations
Picture your Classic Apple Pie as the star: golden slices on vintage plates, a scoop of vanilla ice cream melting into warm filling for creamy contrast. Pair with hot coffee or spiced chai for ultimate fall vibes. Drizzle caramel sauce for luxe shine, or top with whipped cream rosettes.
Versatile twists keep it fresh—swap half apples for pears with ginger boost, or add cranberries for tart pop. Go lattice-top: weave strips over filling for airy, photogenic design. Serve at brunches with yogurt dollops, or picnics wrapped in parchment.
This Classic Apple Pie shines solo or elevated. Mini versions in muffin tins thrill kids’ parties. Emotional win: it’s the dessert that sparks “more please!” every time.
Nutritional Highlights
Apples pack fiber for digestion and antioxidants for glow, while cinnamon aids blood sugar balance. Butter and flour provide satisfying energy; lemon adds vitamin C zip. Per slice, it’s indulgent yet wholesome.
Per Serving (1/8 pie): ~450 calories, 5g protein, 60g carbs (6g fiber), 22g fat (13g saturated). Moderate sugars from fruit shine naturally.
Storage Made Simple

Store Classic Apple Pie covered on counter up to 2 days for peak freshness—flaky crust stays crisp. Refrigerate slices in airtight container for 3-4 days; the chill firms filling beautifully.
Freeze whole unbaked pie (double-wrapped) up to 3 months—bake from frozen, adding 10 minutes. Baked leftovers? Slice, wrap individually, freeze 2 months. Thaw overnight, reheat at 350°F for 15-20 minutes until warm and bubbly. Microwave single slices cautiously to avoid soggy crust.
FAQs
Can I make the crust ahead?
Yes! Prepare dough up to 2 days ahead, chilled. Or freeze discs 3 months. Thaw in fridge before rolling. Perfect for stress-free baking in this Classic Apple Pie.
What if my filling is runny?
Cook apples on stovetop 5 minutes before filling to evaporate juices, or add 1 extra tbsp cornstarch. Bubbles should thicken visibly—cool fully to set.
Gluten-free option?
Swap all-purpose flour for 1:1 gluten-free blend (like almond or oat-based). Crust may be more fragile; chill extra. Filling stays naturally GF-friendly.
Scaling for smaller pie?
Halve everything for 6-inch pan, 4 servings. Reduce bake to 40-50 minutes. Watch for golden crust and bubbling edges.
Why use Granny Smith apples?
They hold shape, balancing sweet Honeycrisp. Mix for complexity. Avoid soft varieties like Red Delicious—they mush.
Vegan tweaks?
Use plant-based butter and egg replacer (flax “egg”) for wash. Coconut oil works in crust. Enjoy dairy-free Classic Apple Pie delight.
Troubleshoot pale crust?
Brush egg wash thoroughly; bake on lower rack first. Extra 5 minutes at end crisps it golden. Shield edges only if needed.
Final Thoughts
Your kitchen awaits this Classic Apple Pie adventure—flaky, fragrant, unforgettable. It’s the pin that’ll top your boards, drawing saves from cozy bakers everywhere. Bake it today, capture that steam-kissed slice, and share the love. Who’s first to try? Pin now, thank me later!